Create Payment Invoice via the Dashboard
Before You Start
Make sure that you specified all the properties you need in the payment options, and also added and enabled the handled methods.
Info
You can create payment invoices using the Dashboard, Public or Private APIs. But the Public API supports creating an invoice only if you did not forbid this option in general settings.
Create Invoice
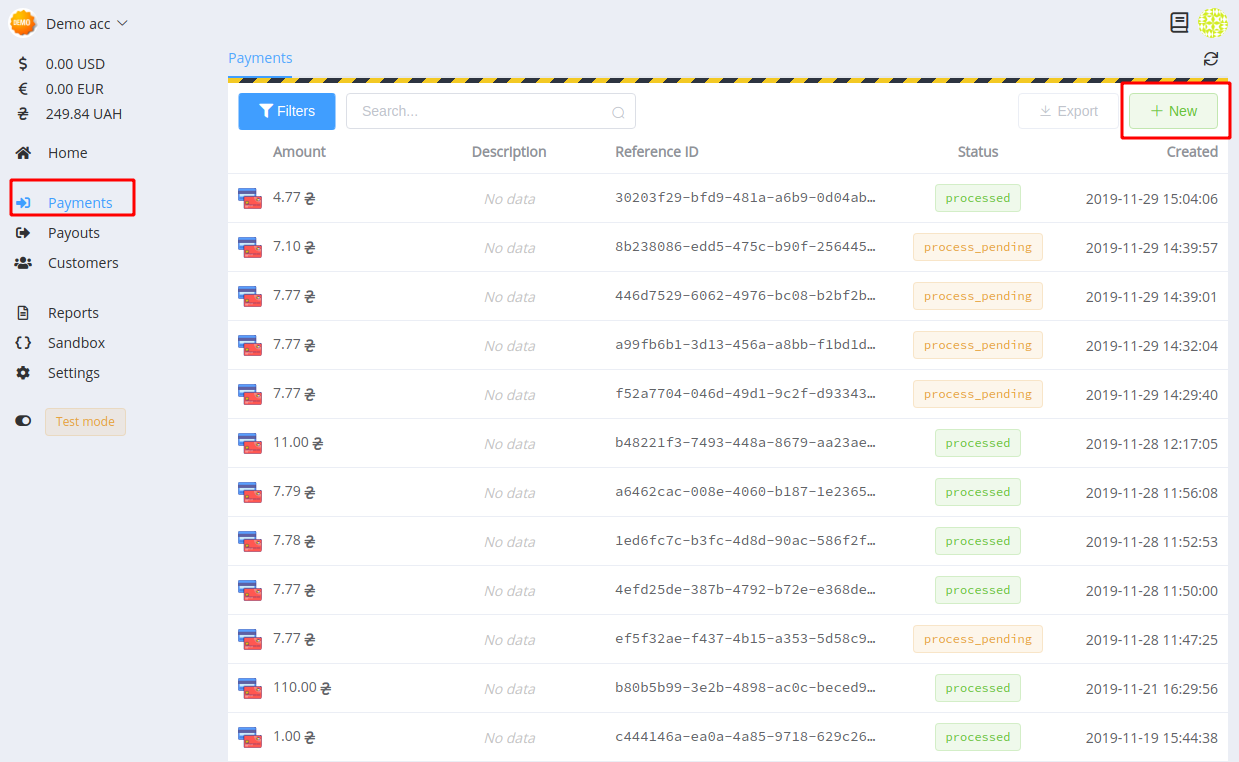
Click on +New button in the Payments section and create a new payment invoice.
Block 1. Basic data.
Required fields: currency account, service (with currency), sum, unique reference ID. You may also need to specify additional account details (the number of fields differs for different payment methods).
An optional field: description.
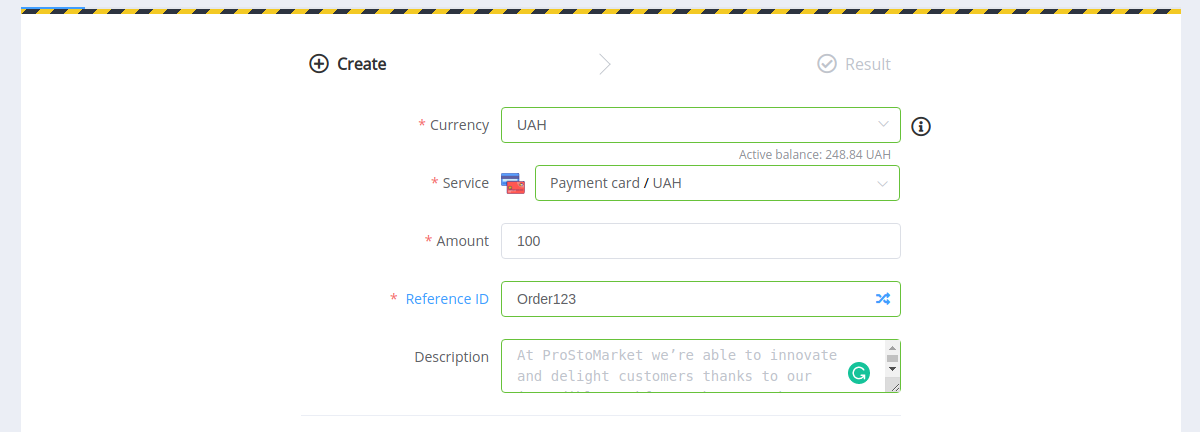
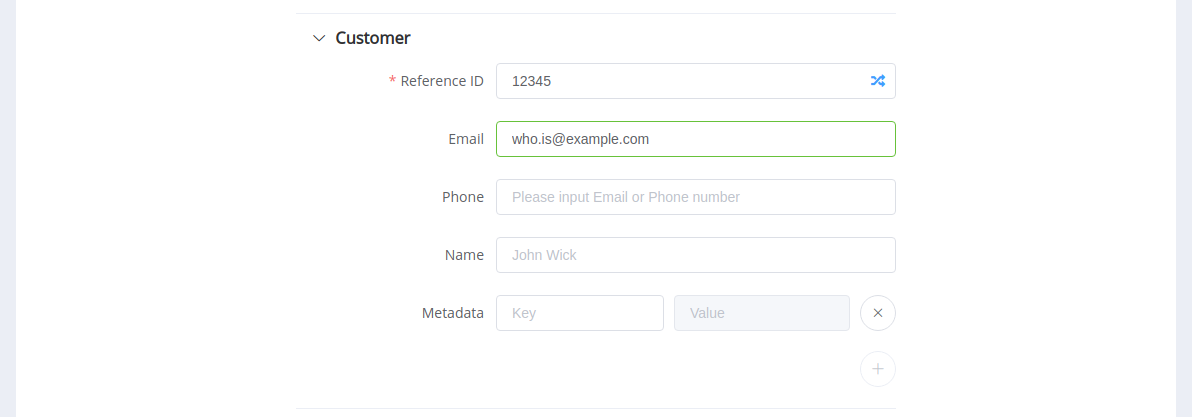
Block 2. Customer's data.
Optional to fill, but if you specify the customer's reference ID, the entered data and transaction is added to the related Customer record.
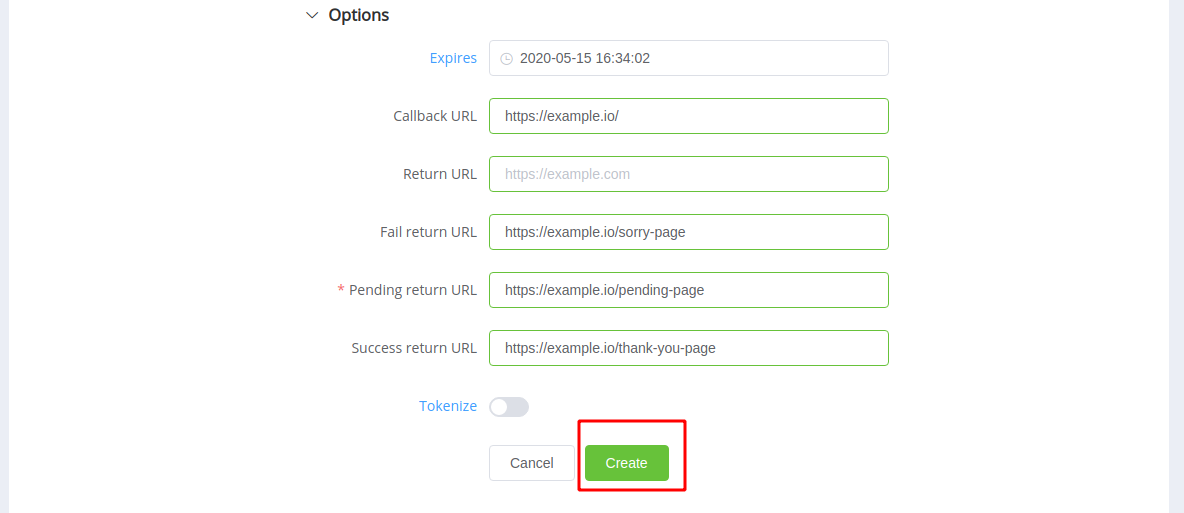
Block 3. Options.
Additional settings. Here you can tokenise the payment, specify an expiry date, and reset the Callback URL and Return URL. You can also set special Return Urls for different payment statuses:
- payment is unsuccessful — Fail Return URL
- payment in processing — Pending Return URL
- payment successfully completed — Success Return URL
Attention
These special Return Urls have priority over the general Return URL.
To avoid setting up Return Urls in every invoice
Send a request to our support service , and we set the default Return URLs for your account.
Click on the Create button to confirm the Invoice creation.
Check Status
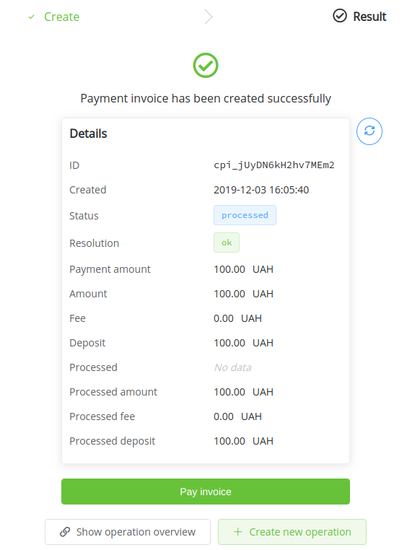
You can see a payment status on the Result tab, and (for card payments only) instantly pay invoice.
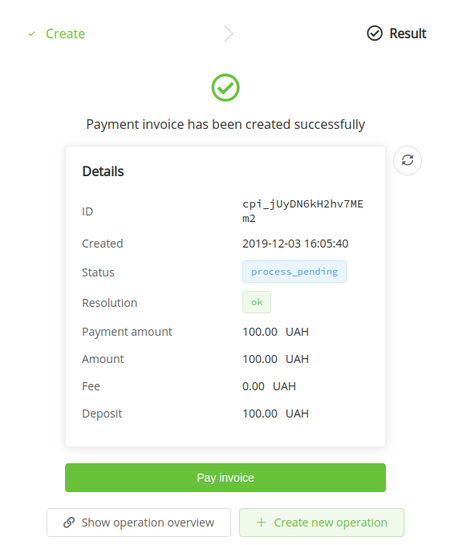
The final payment status is displayed after update.
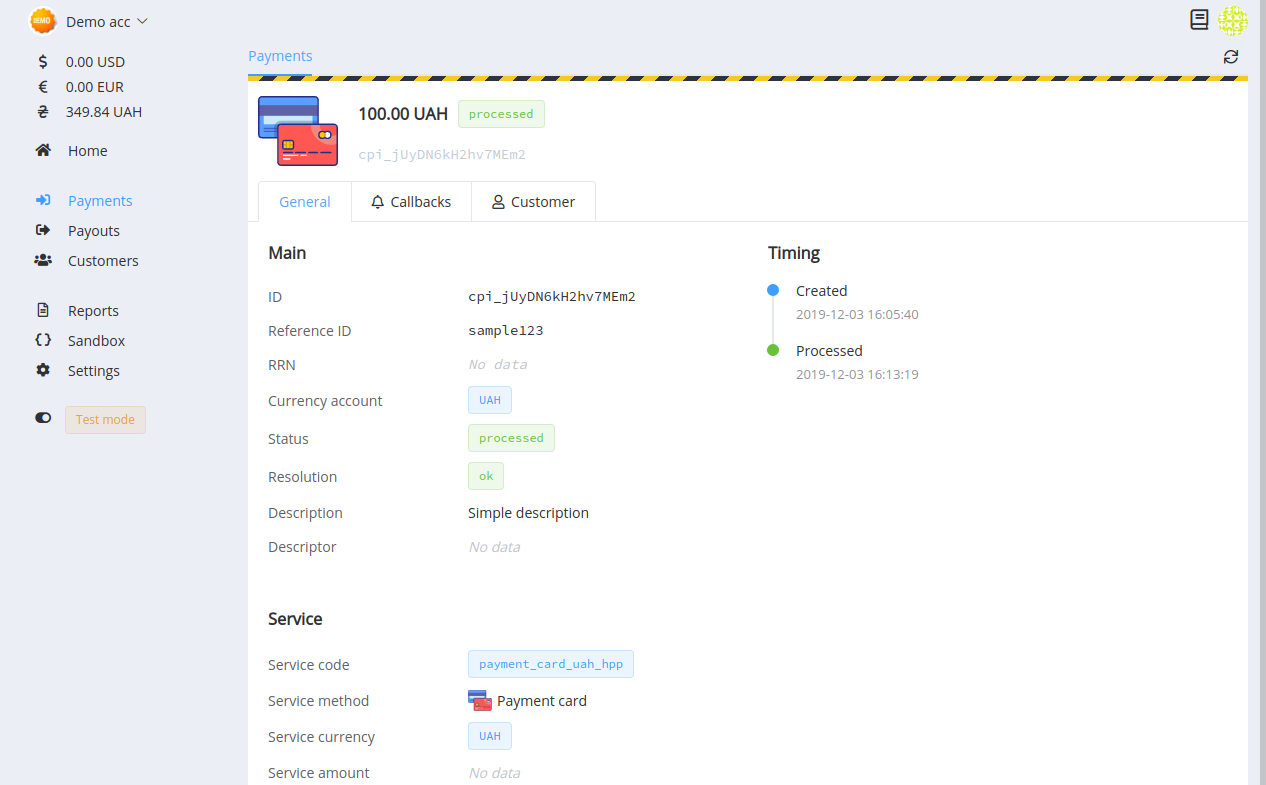
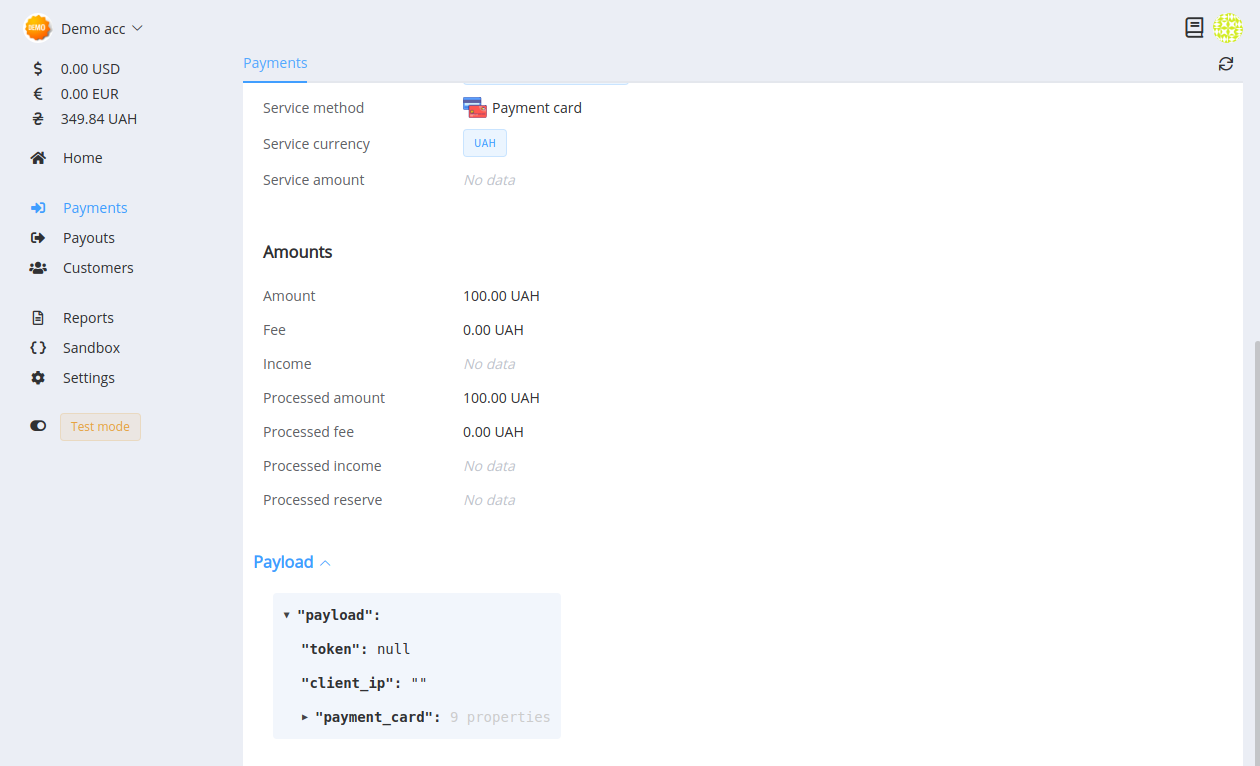
You can also view all transaction data in the entry in the general list.
Check Callbacks
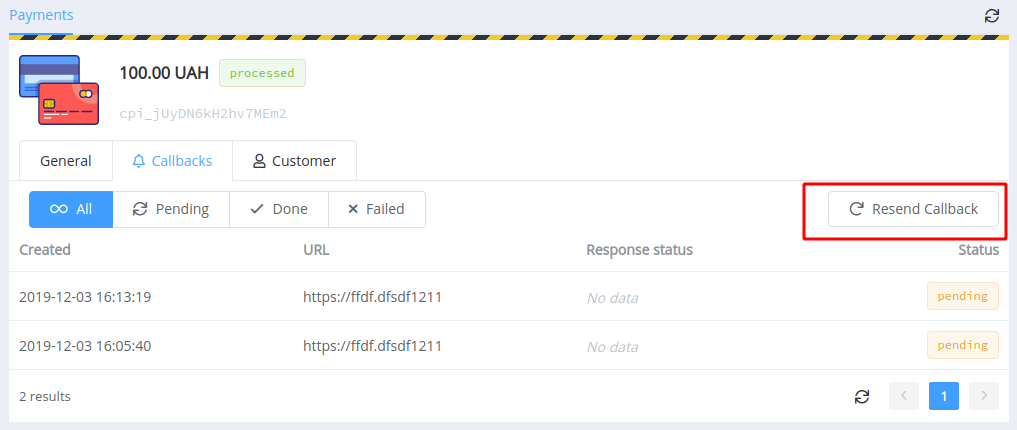
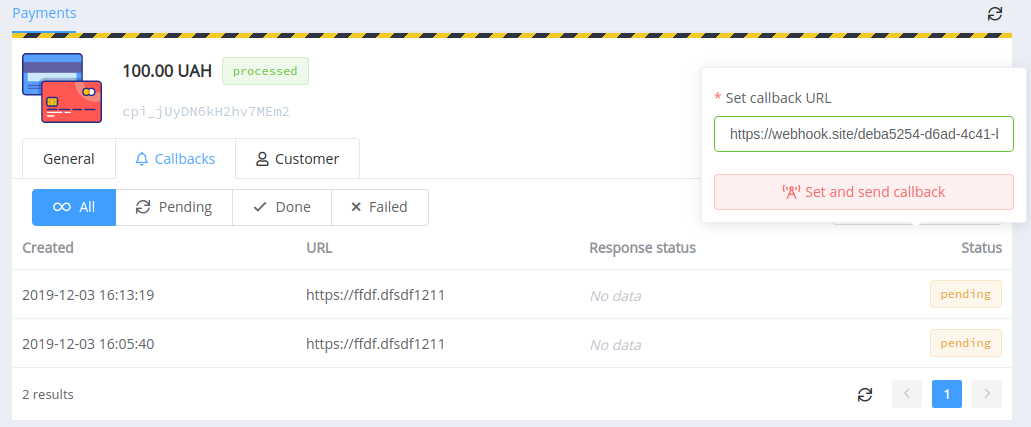
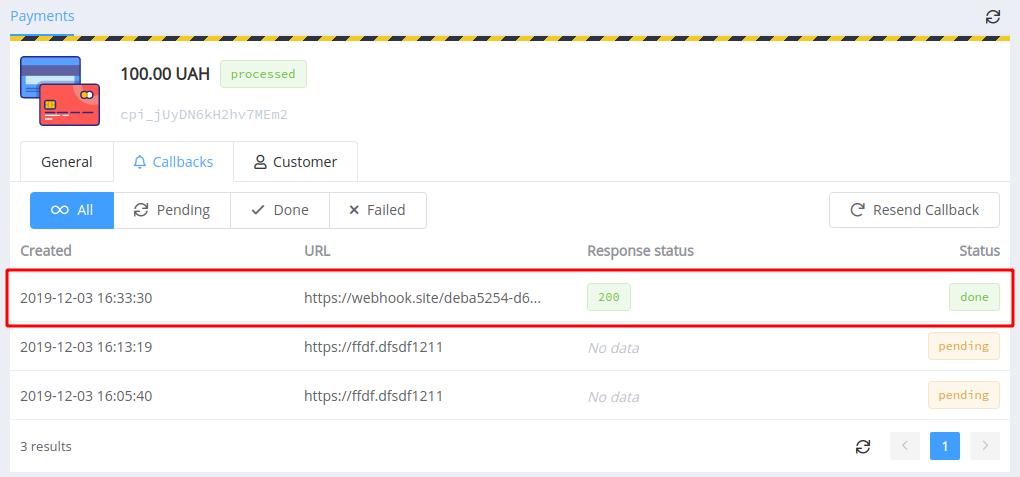
Within 14 days of receipt, you can view received Callbacks in the payment data entry. You can also resend Callback using a predefined or additional link.
